

BLEACH MIRRORS HIGH / CHARACTER PRIORITIES

BLEACH Mirrors High tier list

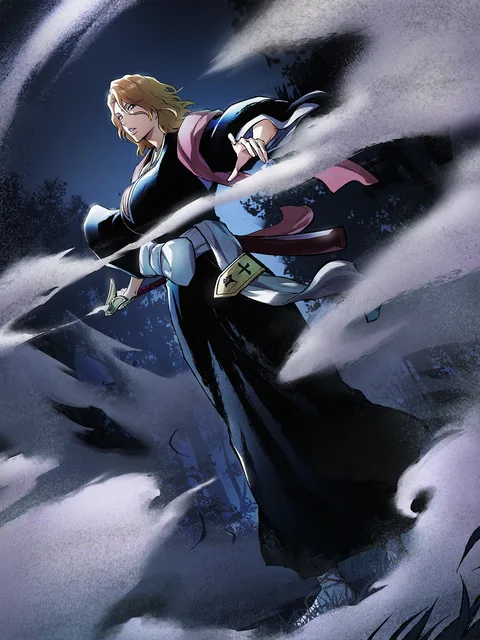
13 sourced characters make up this free BLEACH Mirrors High tier list. Ichigo, Toshiro and Rukia are our provisional starting points for early progression, based on published kits. Compare roles and conditions below; these are editorial hypotheses, not live-build test results. No registration is required.

13 sourced charactersSave · Compare · BuildNo account needed
THE LAUNCH READING

Mirrors High tier list

Early-progression priorities · Updated Oct 29, 2026

Provisional · kit-based
S
Ichigo Kurosaki — Substitute Soul Reaper, official character artworkComboIchigo KurosakiDamage · Zanjutsu
Why S tier?

A straightforward damage plan: land Arts 1, build Attack stacks, then spend the short skill window on offense.

Check first: The strongest quoted stack and cooldown effects belong to the final ability. Do not assume a fresh copy has the same output.

Full kit & sources ↗
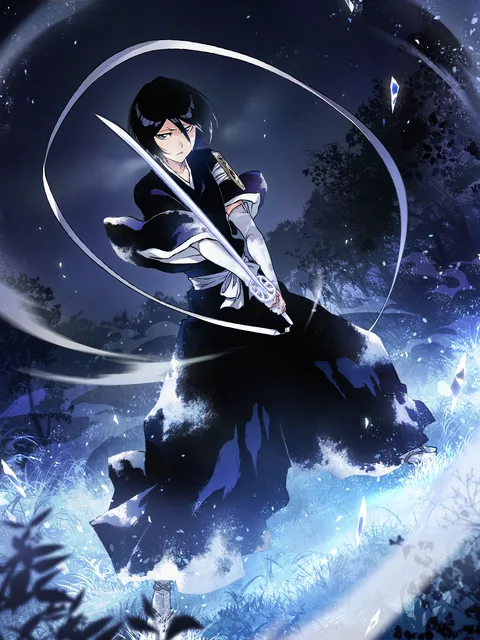
Rukia Kuchiki — Squad 13 Lieutenant, official character artworkChainRukia KuchikiSupport · Kido
Why S tier?

Team critical bonuses and access to Bind and Freeze make her an appealing support for teams that can keep ailments active.

Check first: Her final team bonus requires hitting an enemy already affected by an ailment. That condition matters more than the headline percentage.

Full kit & sources ↗
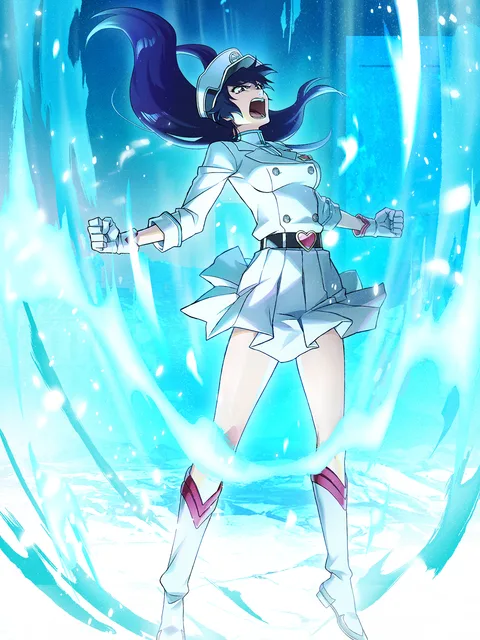
Toshiro Hitsugaya — Squad 10 Captain, official character artworkComboToshiro HitsugayaDamage · Zanjutsu
Why S tier?

Critical-hit triggers combine damage growth with Frostbite, giving a clear reason to build around critical support.

Check first: A listed 50% Freeze chance is not guaranteed control. Enemy resistance and critical-hit consistency can change his practical value.

Full kit & sources ↗
A
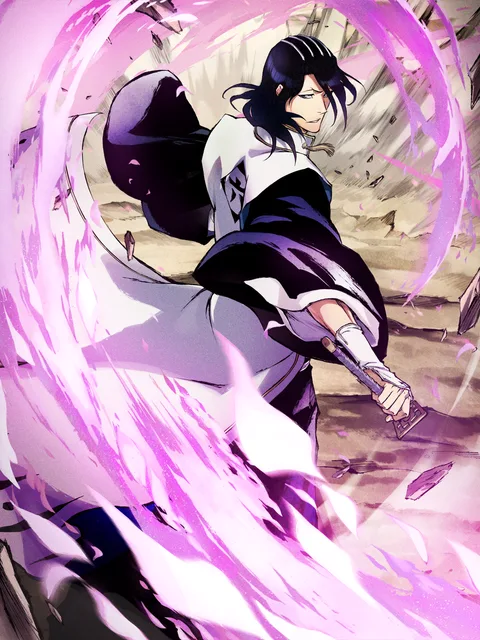
Byakuya Kuchiki — Squad 6 Captain, official character artworkShadowByakuya KuchikiDamage · Kido
Why A tier?

Bleed application and an Arts 2 bonus against bleeding enemies create a coherent damage condition to build around.

Check first: A Bleed-dependent bonus loses value if the target resists the ailment or the application does not occur.

Full kit & sources ↗
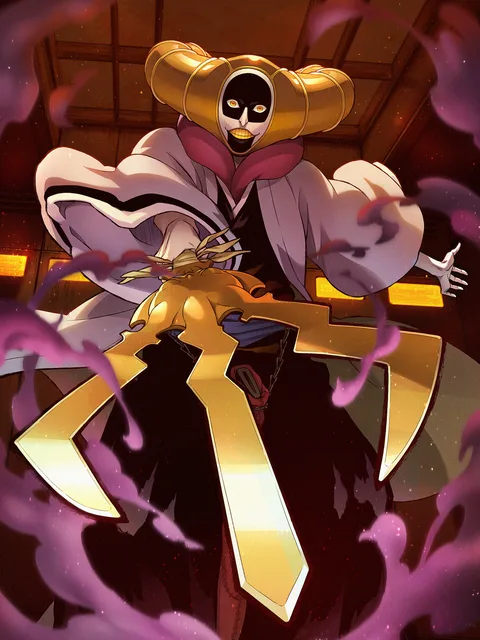
Mayuri Kurotsuchi — Squad 12 Captain, official character artworkChainMayuri KurotsuchiSupport · Zanjutsu
Why A tier?

Poison and defense reductions offer a distinct way to improve team damage, especially where Physical Defense reduction is relevant.

Check first: Several listed effects are chance-based, and the extra Physical Defense reduction requires Poison. Resistance can undermine the plan.

Full kit & sources ↗
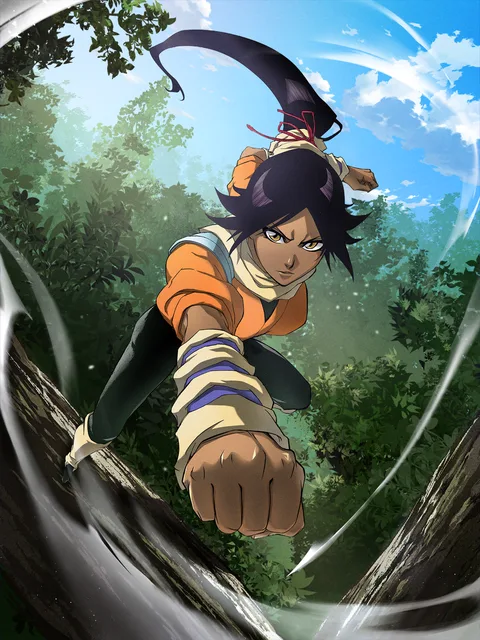
Yoruichi Shihoin — Flash Master, official character artworkShadowYoruichi ShihoinUtility · Hakuda
Why A tier?

Switch prevention and bonuses after Vanishing Evasion create a distinctive utility role for a player who can execute her mechanics.

Check first: Switch restriction is encounter-dependent. This preview does not establish a PvP placement or assume all enemies can switch.

Full kit & sources ↗
Rangiku Matsumoto — Squad 10 Lieutenant, official character artworkChainRangiku MatsumotoSupport · Kido
Why A tier?

Critical support from both the skill and returning to standby gives her a clear team-building purpose.

Check first: The standby bonus is conditional on rotation. Its final-ability values should not be treated as the starting values.

Full kit & sources ↗
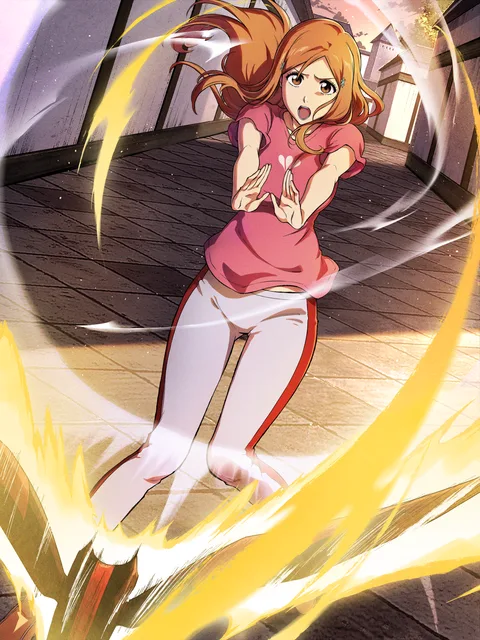
Orihime Inoue — Shunshunrikka, official character artworkChainOrihime InoueDefense · Kido
Why A tier?

Enemy Attack reduction and team damage mitigation give her a clear place when surviving the encounter is the limiting factor.

Check first: Damage mitigation is not the same as healing. A defensive slot can be valuable without increasing a speed-clear score.

Full kit & sources ↗
B
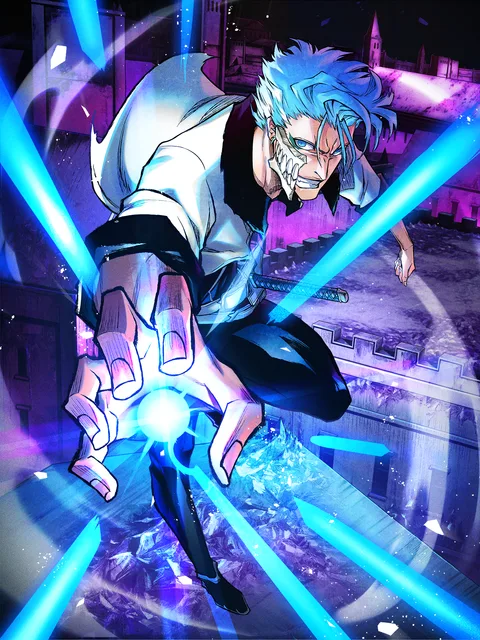
Grimmjow Jeagerjaques — Espada Number 6, official character artworkClashGrimmjow JeagerjaquesDamage · Zanjutsu
Why B tier?

His status-dependent Attack bonuses can be useful in the right encounter, but are less universal than a simple on-demand buff.

Check first: Being afflicted is a cost as well as a trigger. Never assume intentionally taking an immobilizing effect improves total damage or survival.

Full kit & sources ↗
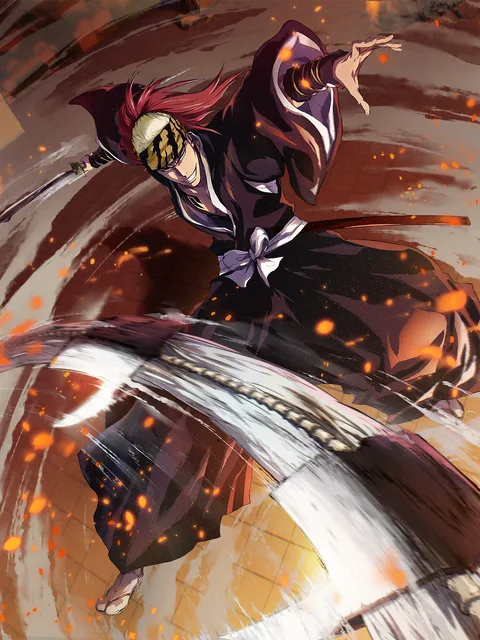
Renji Abarai — Squad 6 Lieutenant, official character artworkClashRenji AbaraiUtility · Zanjutsu
Why B tier?

Counter-triggered debuffs and Clash support make him a situational option for players who can consistently meet the trigger.

Check first: Counter opportunities and execution influence his value. A higher Clash Victory Rate is not a guarantee of winning every exchange.

Full kit & sources ↗
Bambietta Basterbine — Schrift "E", official character artworkClashBambietta BasterbineDamage · Zanjutsu
Why B tier?

A Burn-to-Arts-2 sequence provides a focused offensive loop with a clear condition to evaluate.

Check first: Arts 1 Burn application is probabilistic at the quoted final stage. A target that resists Burn changes the result.

Full kit & sources ↗
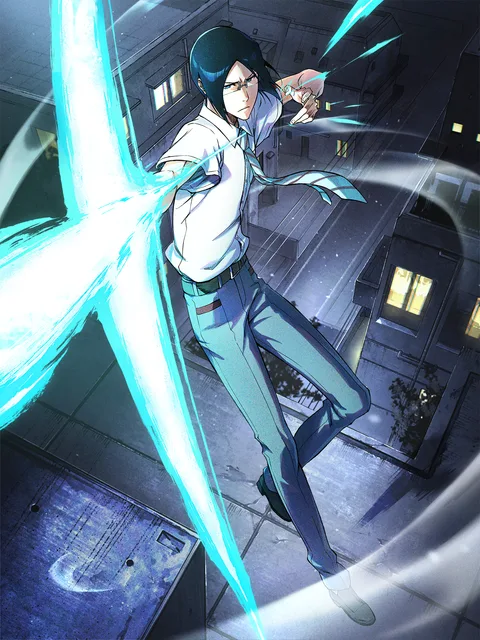
Uryu Ishida — Quincy, official character artworkComboUryu IshidaDamage · Kido
Why B tier?

Arts 2 support and Poison-dependent bonuses suggest a specialized offensive plan rather than a universal first investment.

Check first: His Mortal Blow includes self-inflicted damage over time. That downside must be included in the evaluation.

Full kit & sources ↗
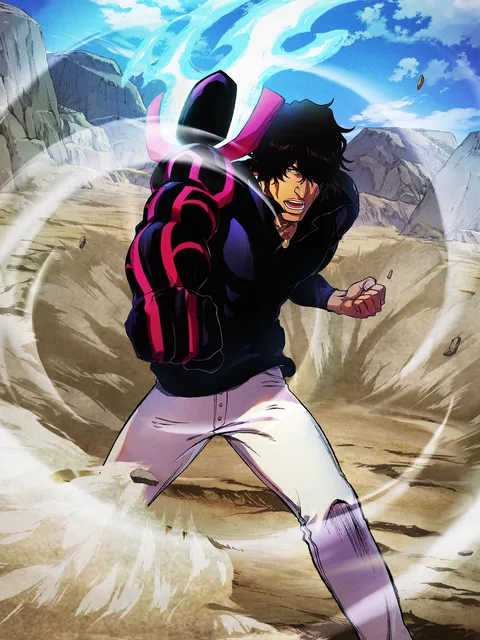
Yasutora Sado — Brazo Derecho Del Gigante, official character artworkShieldYasutora SadoDefense · Hakuda
Why B tier?

Shield Cover Change and team damage on entry offer defensive and rotation utility beyond his personal Defense bonus.

Check first: Low-HP bonuses should not become a reason to stay dangerously low. This is an early-progression priority, not a claim that tanks are useless.

Full kit & sources ↗

13 characters · Select a card to read the evidence.

These are editorial inferences from official introductions, not measured live-game rankings. Final-ability values may differ from a fresh character. Read the method ↗

TURN THE LIST INTO A PLAN

BLEACH Mirrors High guide: choose your next step

Free and unlimited squad drafts · $0 · No sign-up · 3 local presets · JSON / TXT export, no watermark. Open the team builder ↗

Quick comparison: starting priorities

CharacterRoleWhat to check
Ichigo KurosakiDamageThe strongest quoted stack and cooldown effects belong to the final ability. Do not assume a fresh copy has the same output.
Rukia KuchikiSupportHer final team bonus requires hitting an enemy already affected by an ailment. That condition matters more than the headline percentage.
Toshiro HitsugayaDamageA listed 50% Freeze chance is not guaranteed control. Enemy resistance and critical-hit consistency can change his practical value.

Who should you build first?

For this provisional Mirrors High tier list, start by identifying one reliable damage plan and two teammates that help it work. Ichigo offers a clear Arts 1 stacking loop. Toshiro rewards a critical-focused setup. Rukia supplies conditional team bonuses and control. Those are useful starting hypotheses from the official kits, not a guarantee that any one character wins every encounter.

Your actual account matters. A character with an accessible ability stage and a workable rotation can be a better investment than a higher-rated character whose key effect you cannot activate. Open a character guide before spending resources: check the exact variant, the effect’s trigger, and whether the quoted numbers describe an initial or final ability.

How to use this tier list

Use the letters to narrow your reading, then use the role filters to fill a real gap. If your team already has damage but keeps failing a stage, another attacker may not solve the problem. A defensive option such as Orihime or Sado deserves consideration when survivability or rotation is the limiting factor. A B placement here means more conditional early-progression value, not that the character has no purpose.

Save characters with the star button to keep a small shortlist in this browser. The team planner uses the same roster, so you can move from a ranking question to a practical three-person draft using the same character records. The comparison page places two kits next to each other, including the limitation that often disappears from a simple ranking graphic.

Team roles matter more than isolated buffs

A large Attack percentage alone does not establish the best team. Ask when the buff starts, how long it remains active, whether the character must stay on field, and what the other two members contribute during that window. Conditional effects need an activation plan. Rukia’s team bonus, for example, depends on hitting an afflicted enemy. Mayuri’s additional Physical Defense reduction depends on Poison and should be evaluated against the damage category your team actually uses.

The planner is deliberately transparent: it suggests role coverage using this editorial reading of the kits. It does not simulate damage, calculate hidden multipliers or claim a mathematically optimal team. A suggested lineup is a starting point for testing. Check its conditions against your current game version and the specific stage before committing scarce resources.

What is verified, and what is still uncertain?

The character identities, artwork sources and selected kit effects link to Bandai Namco’s individual introductions. Our current coverage follows the thirteen links in the official release-lineup announcement. These introductions were published before launch and state that details can change. We do not silently combine beta footage, third-party rankings and final-stage numbers into a supposed live-build test.

There is no independently collected clear-time dataset behind this preview. Enemy resistance, investment, manual execution and balance changes remain practical uncertainties. We also do not assign a tested PvP tier. Where evidence is incomplete, the limitation stays visible. New material should improve the explanation rather than merely add more pages.

What should you do next?

If you are choosing a starting account, read the reroll decision guide and decide what would make your roster usable before you begin. If you already have characters, open the free team planner and select your collection. If you are choosing between two investments, use the comparison tool and look at the trigger conditions alongside the headline effect.

For official announcements, use the BLEACH Mirrors High website. For the roster behind this page, consult the official release character lineup. Our revision log records changes to coverage, while the editorial method explains how official facts are separated from our recommendations.

Questions before you invest

Is this a tested launch tier list?

No. These are provisional editorial priorities inferred from official character introductions dated October 23, 2026. The official descriptions are marked subject to change. We have not independently playtested the live build.

What do S, A and B mean?

S identifies a broadly useful starting point on paper. A identifies a strong role or a useful condition. B means more conditional or specialist early-progression value. None of these letters is a measured damage result.

Why is Aizen not ranked here?

The official launch-lineup announcement we verified links to 13 character introductions and does not include him. We prefer to leave a coverage gap visible until a matching official source and exact version can be verified.

Are initial and final abilities the same?

No. Some introductions separately describe initial and final ability stages. The character pages explicitly retain that distinction when quoting a final-stage effect.

Can I use this list for PvP?

Not as a validated PvP ranking. Opponent behavior, switching, resistance and execution can change the value of the same kit. This page focuses on provisional early-progression priorities.

Do I need an account to use the planner?

No. The planner is free and works in your browser. Saved characters stay in this browser’s local storage; they are not uploaded to a game account.

Will the list change?

Yes, when verified evidence changes. An update should identify a source, a changed condition or actual test results. Changing only the date is not a meaningful revision.

Mirror Index Editorial Team · Updated October 29, 2026 · Sources & editorial method ↗